> For the complete documentation index, see [llms.txt](https://docs.coldstack.io/llms.txt). Markdown versions of documentation pages are available by appending `.md` to page URLs; this page is available as [Markdown](https://docs.coldstack.io/binance-smart-chain-bridge/step-by-step-guide.md).
# Step-by-Step Guide
Dear community members, we are happy to present our simple guide on how to perform cross-chain CLS token transfers between the Ethereum and Binance Smart Chain Network through our native bridge. This bridge is a vital part of our plan to offer CLS on the BSC network, and anyone seeking to bring their Ethereum based CLS tokens should follow the steps below.
**1.** Go to our bridges webpage .
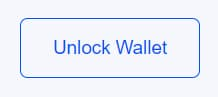
**2.** Click "Unlock Wallet":

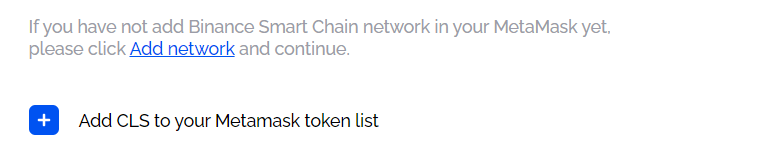
**3.** Make sure your wallet is connected to the correct network - you can click this “Add network” to add the BSC network to your MetaMask wallet, and “Add CLS to you Metamask token list” if you don’t yet have CLS listed in your wallet:
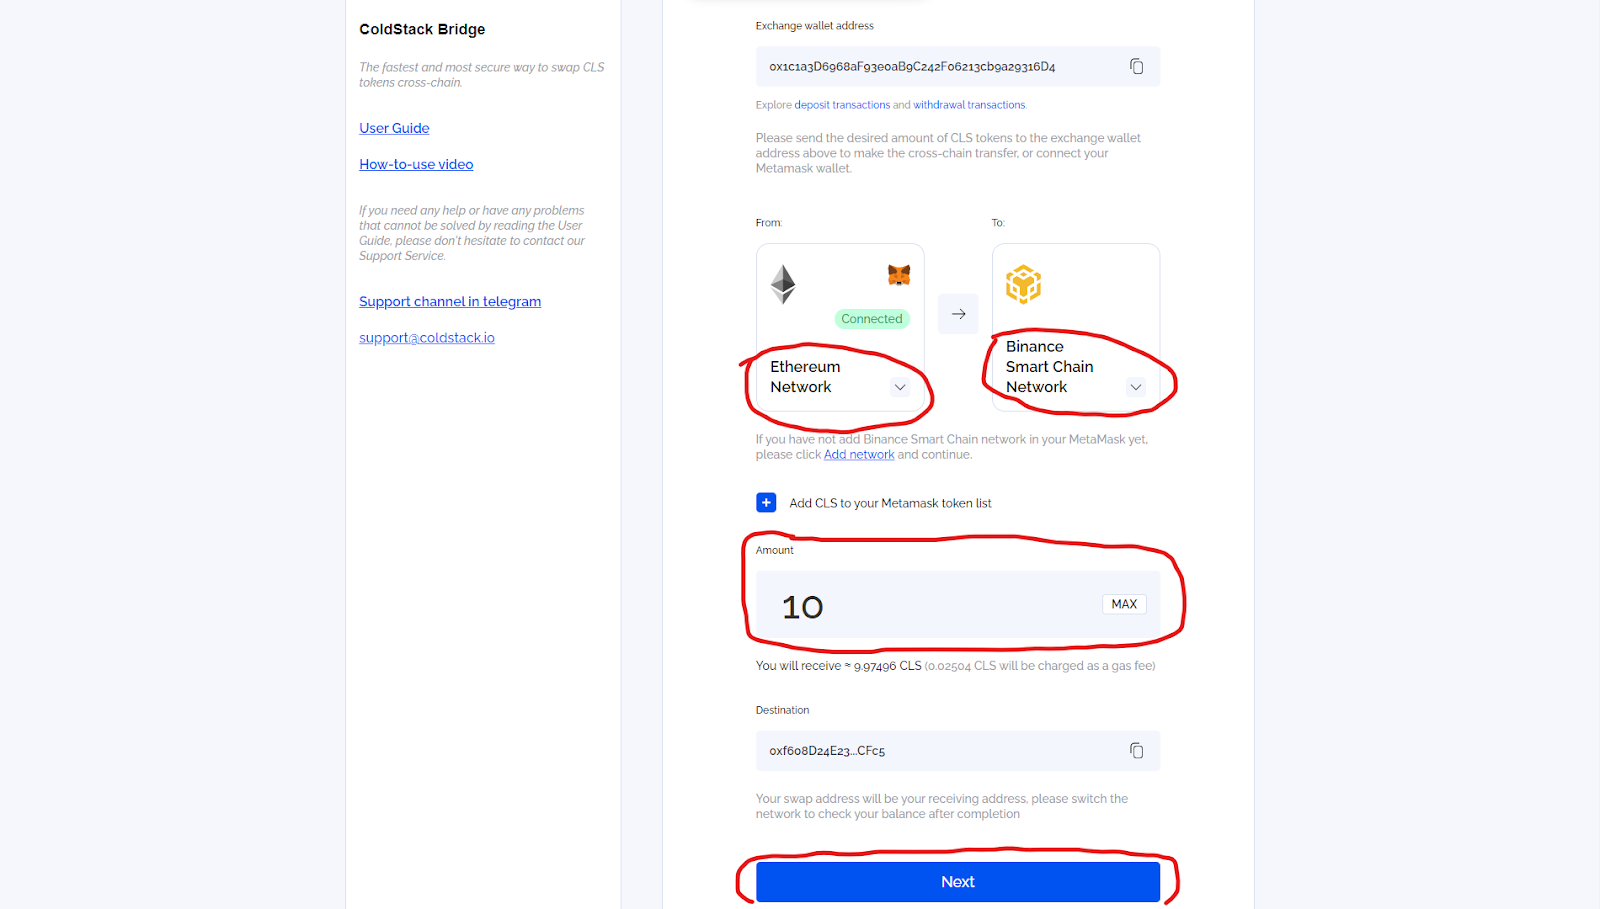
**4.** Select the networks that you wanna transfer tokens between, and the amount of tokens you would like to transfer - minimum for transferring from Ethereum to BSC is 10 CLS tokens, and 25 CLS if transferring from BSC to Ethereum. And then click “Next”.
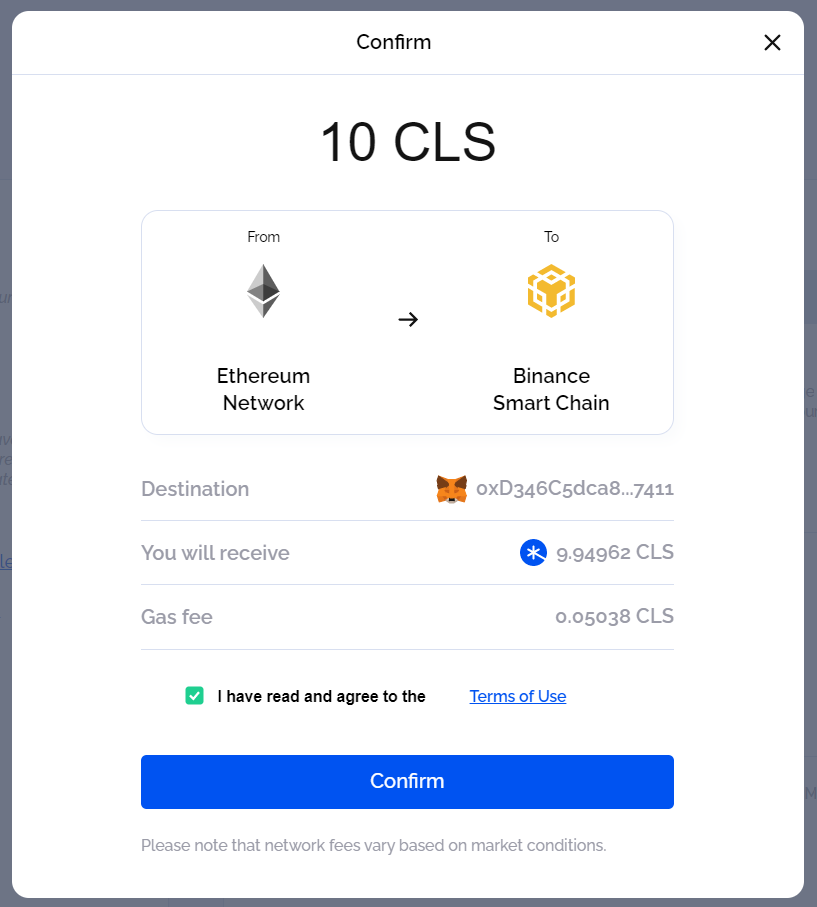
**5.** Check “You will receive” and “Gas fee”, and then click “Confirm”.
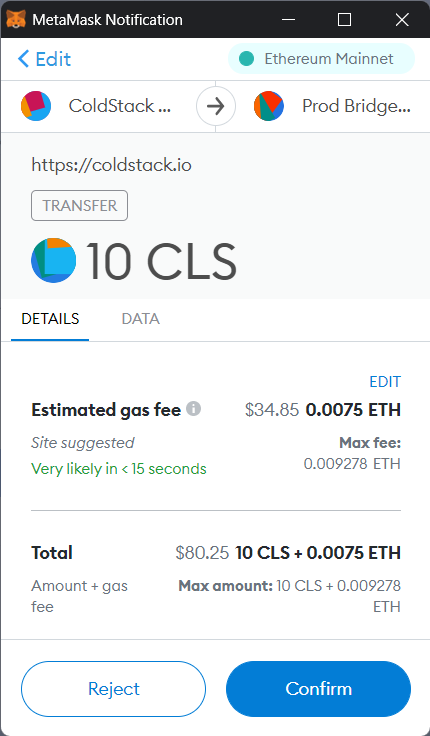
**6.** Confirm the transaction in your wallet:
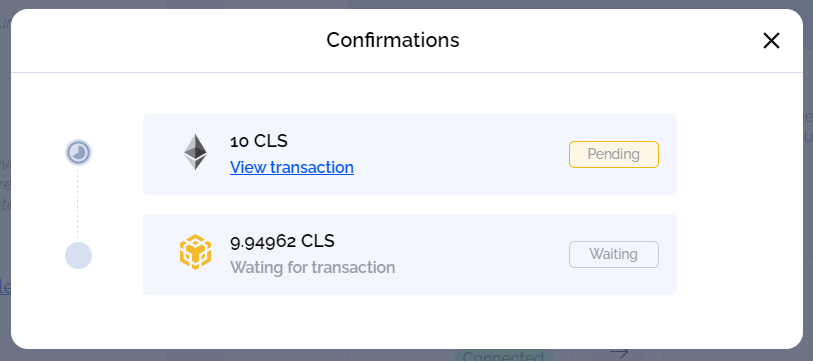
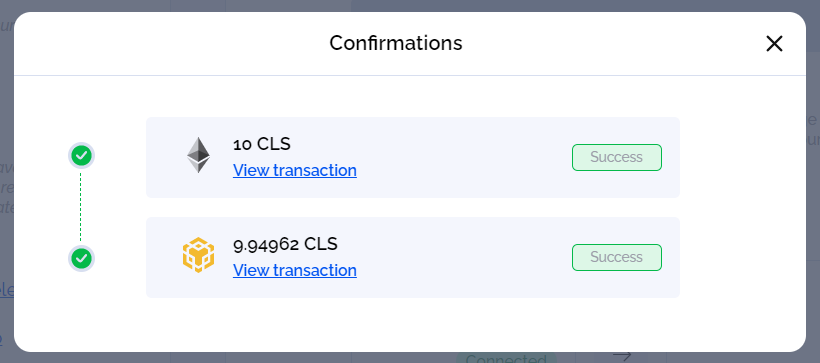
**7.** Wait for the transaction to be confirmed on both networks (You can view the transaction with the link provided).
**8.** Switch networks to the destination network to check if the transaction went through.
After completing these steps, you should have your desired amount of CLS transferred to the network of your choice.
Should you encounter any issues, please do not hesitate to contact support! Our team is happy to help.
Please note our bridge UX only supports Metamask at the moment. However, users with other wallets can simply send CLS tokens to the exchange address shown.
---
# Agent Instructions
This documentation is published with GitBook. GitBook is the documentation platform designed so that both humans and AI agents can read, navigate, and reason over technical content effectively. Learn more at gitbook.com.
## Querying This Documentation
If you need additional information that is not directly available in this page, you can query the documentation dynamically by asking a question.
Perform an HTTP GET request on the current page URL with the `ask` query parameter:
```
GET https://docs.coldstack.io/binance-smart-chain-bridge/step-by-step-guide.md?ask=
```
The question should be specific, self-contained, and written in natural language.
The response will contain a direct answer to the question and relevant excerpts and sources from the documentation.
Use this mechanism when the answer is not explicitly present in the current page, you need clarification or additional context, or you want to retrieve related documentation sections.